1. Getting Started
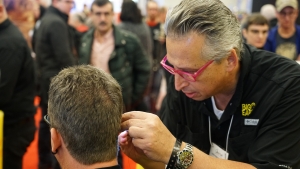
Our goal is to teach you everything you need to be successful as a Big Ear Provider.
The following is what the process will entail from taking the written test to the “ART OF MAKING A IMPRESSION”.
It is called this as everyone’s ear, ear canal, earrings, and configurations are different.
You will need to have access to a drumel, Electric, or battery powered drumel.
We use a 10.8v battery power drumel and when we do a large event we have a total of 3 batteries charged and ready to go. We use the 60 Grit drumel sandpaper barrel.
…
Open the impressions training overview to get started.
2. Written Course

Time to get started. Make sure that you have printed out, completed the written training course and emailed, scanned it, or take a pic and send it back to us to put in your file.
Just for clarity:
Everyone on your team that you want to be able to make impressions must complete the provider agreement, sign it and send it back along with the training course and pictures of the impressions just like your about to do.
No one can touch a person without training.
Once you complete this course send it by email or text it to ghood@bigearinc.com 719-271-9081 for review.
Your kit is on the way.
Once you receive it let’s get started with making impressions.
…
Open the training course to get started.
3. Impression Making
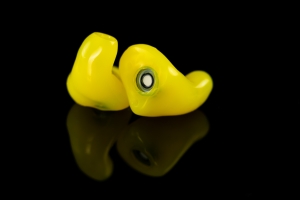
It is now time to learn the Art of Making Impressions.
At Big Ear we make ear impressions, some are used to make any lab earplug models we have and most impressions are made into earplugs that are delivered the same day.
So this means we have 2 kinds of impression material in your kit.
Sanipress – For lab Impressions
Sanicast – For Earplugs made on site.
You will be using the Sanipress for your practice sets until you get good at making impressions.
Then also use the Sanipress for the first few sets of earplugs that you make in the next earplug module. The Sanipress is used for all the practice sets until your ready to get paid and make your first set for money. That is when you will use the Sanicast color earplug material.
…
The Art of Making Impressions Video
Munch and Stones Newest Training Video
18:03
Older original impression training video
10:52
4. Grading Your Impressions
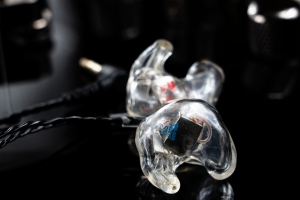
Now it time to judge how you did. Once you make a set or 2 watch this video and make sure they are good impressions. Once you have a good set take a pic and email or send them to me.
…
How do your impressions look and how to judge them.
Good vs Bad impressions
5. Making Ear Plugs
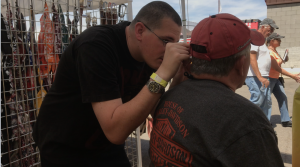
Munch making a Big Ear Custom Earplug
It is now time to learn the Art of Making Impressions that are earplugs.
We sell earplugs into many markets and for many different uses, sleeping, swimming, shooting sports, motorcycle riding, industrial etc.
The amazing thing is with this same tube of colored Sanicast earplug material you can shape your earplug for the different uses.
This video covers our most popular earplug and this is for motorcycle riding. It is made shallow in the ear bowel and smoothed flat so you can put a motorcycle helmet on and off with ease. It is similar to a sleeping earplug, but a little bit more material in the ear bowl.
If you are making industrial or shooting earplugs the norm has been to fill the ear bowl more to give it a fuller earplug, it does make it easier to use a lanyard with them.
These don’t work well under motorcycle helmets.
…
The Art of Making Ear Plugs Video
How To make a Solid Ear Plug
9:43
6. Making Swirl Ear Plugs
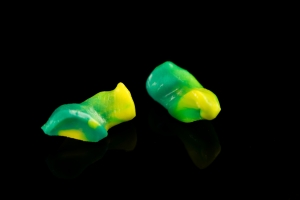
Now that you can make earplugs and make them efficiently based on the customer whether industrial, sleep, motorcycle, etc., Let’s teach you how to make them swirl.
You actually should be pretty proficient at the process as there are a few more steps involved and you have to be quick.
To give you more time in the earplug set up process if you keep your material on Ice in a cooler in a plastic container and your tips in a ziplock bag on or in the ice you can add to the curing set up time.
…
The Art of Making Swirl Ear Plugs Video
7. Material Handling
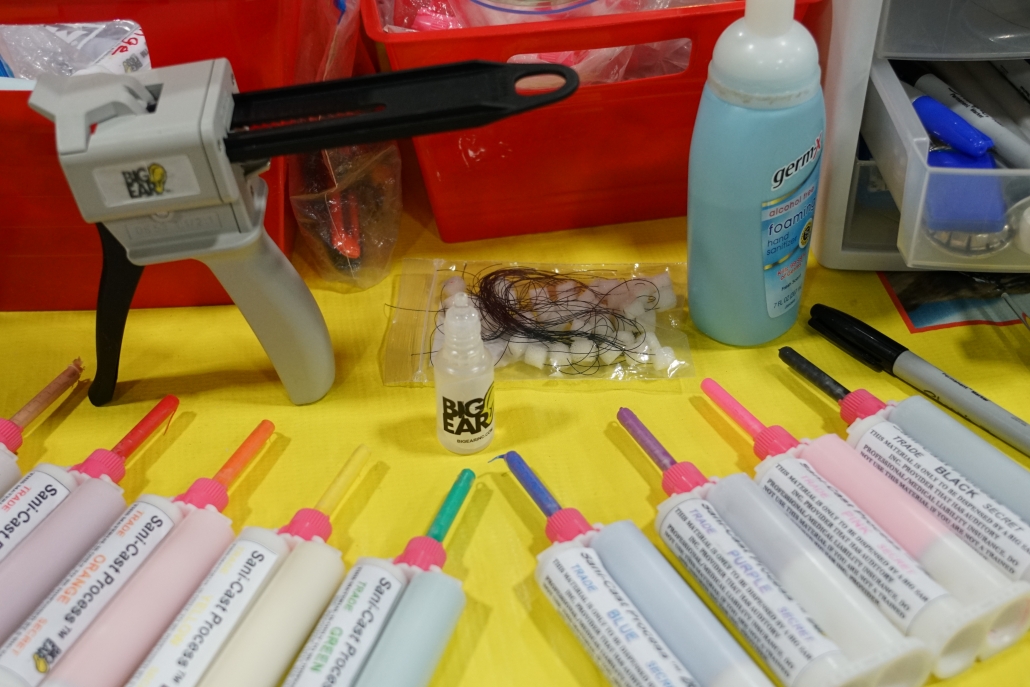
All impression materials are heat sensitive.
Optimum temperature is 70 Degrees.
Under 70 and the material will take longer to set up.
The material will set regardless of how low the temperature, and is typically no longer than a few minutes extra.
Above 70, place the Earplug and impression material and the TIPS in Tupperware containers inside of a cooler.
When Temperatures are greater than degrees this will cause the material to set to fast.
In extreme heat, greater than 100, the material will set before it makes it out of the tip.
To recap, under 70 allow for longer drying time.
Above 70, keeps tips and earplug and impression material cool by placing inside a cooler.
…
Material handling procedures
8. Other Conditions
Here is a video that show’s advanced conditions that you may run into out there that you might want to know about. After a few hundred thousand sets that I have done, I rarely see any of these ear canals like this.
This might be Gross to many so viewer discretion is advised.
…
Conditions you might encounter making earplugs
Office Hours
Every day 10:00 – 7:00 EST
Main Office
101 Durden Park Row
Blythewood, SC 29016. USA
(719) 271-4528
stonehood@bigearinc.com
